Showing posts with label quick easy paper airplane little kids crafts home glue. Show all posts

Tuesday, June 9, 2009

Glued-up paper airplane for tots

A while ago I mentioned a nonfolded paper airplane that could be made really quickly, and I've since turned out a fair number of them myself. But when one of the boys got tired of this one and asked for a "real airplane with wings", we had to take it to the next step.
This is real simple and every bit as fast to make as the paper loop plane, and the great part about it is that the wide surfaces of the triangular fuselage mean you don't have to make any special glue tabs to attach the wings and tail.

Making:
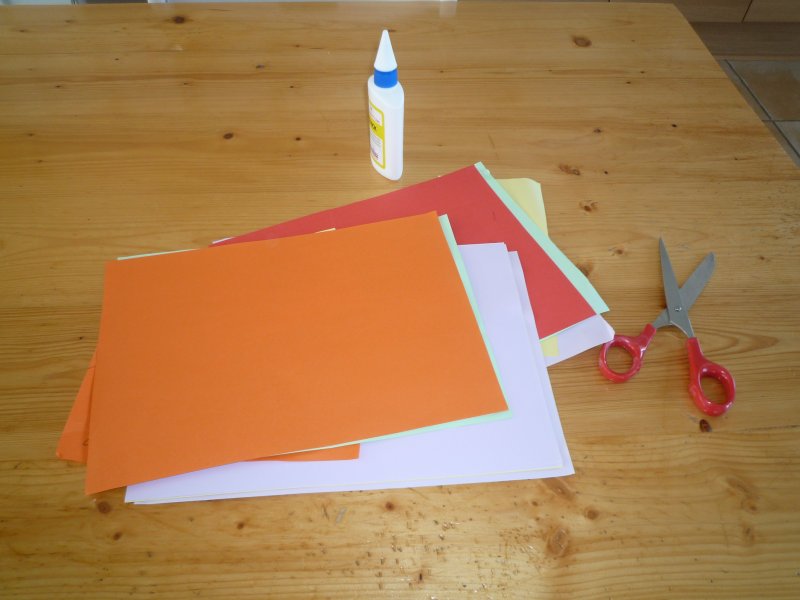
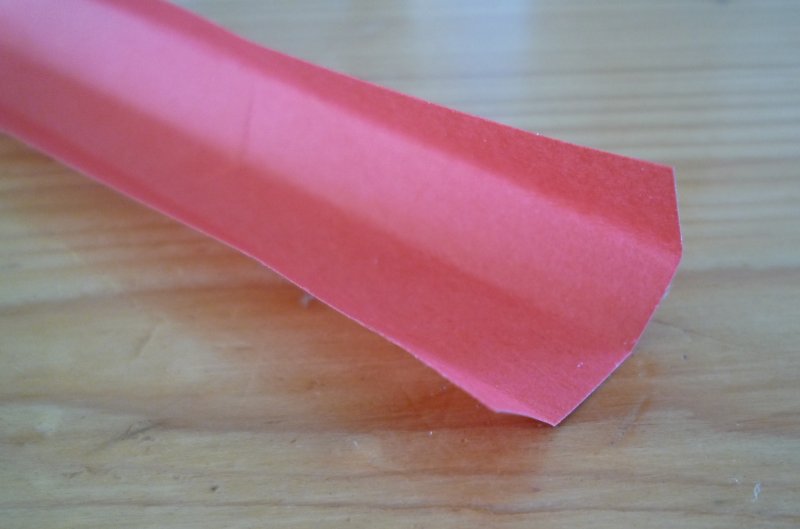
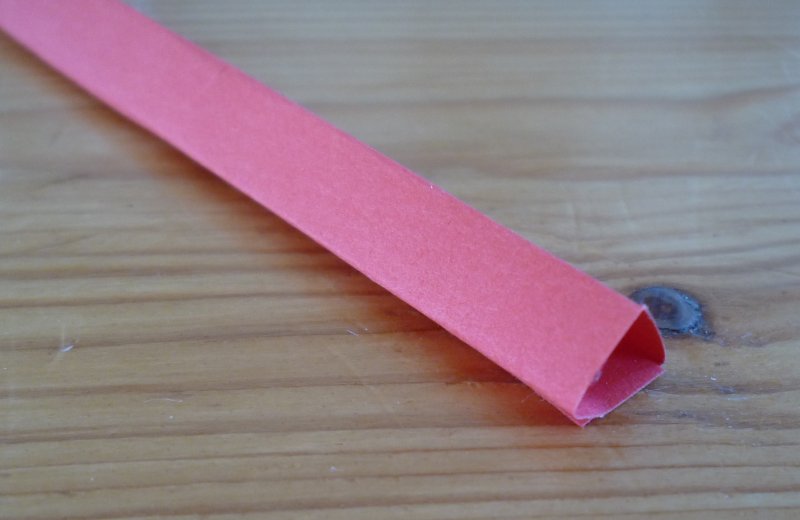
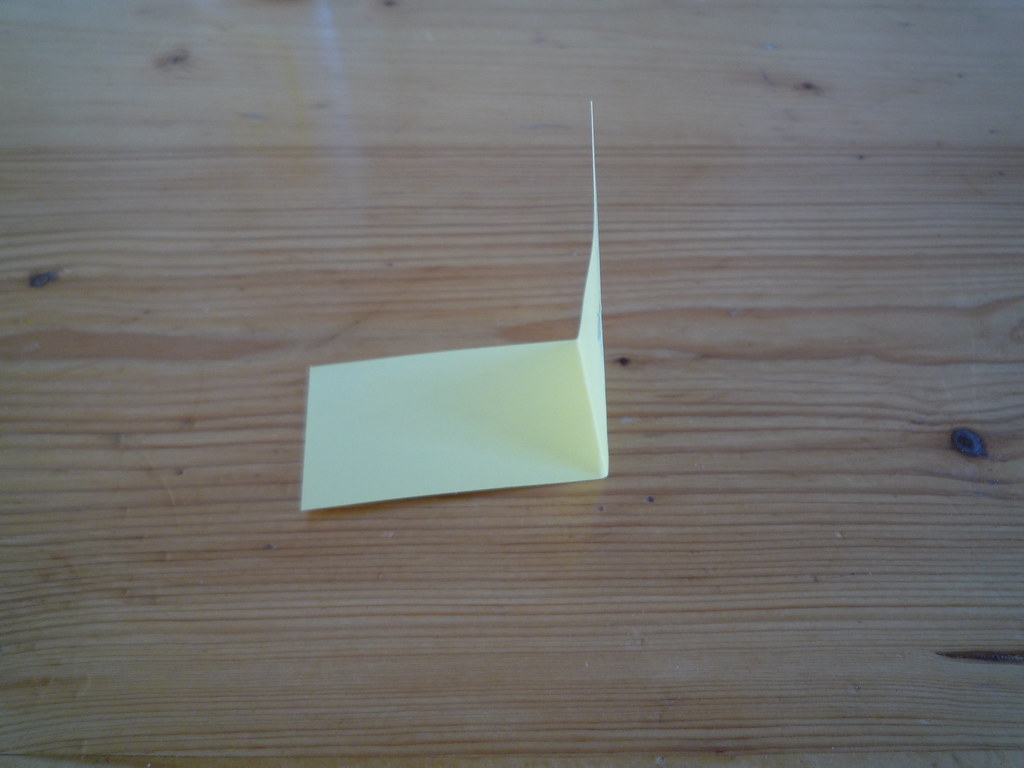
Start by cutting three strips about ¾" wide off the short end of your paper. As for the loop plane, fold the first strip lengthwise in half, then fold the long edges in to meet the first fold and glue it together to make a triangular tube for the fuselage:


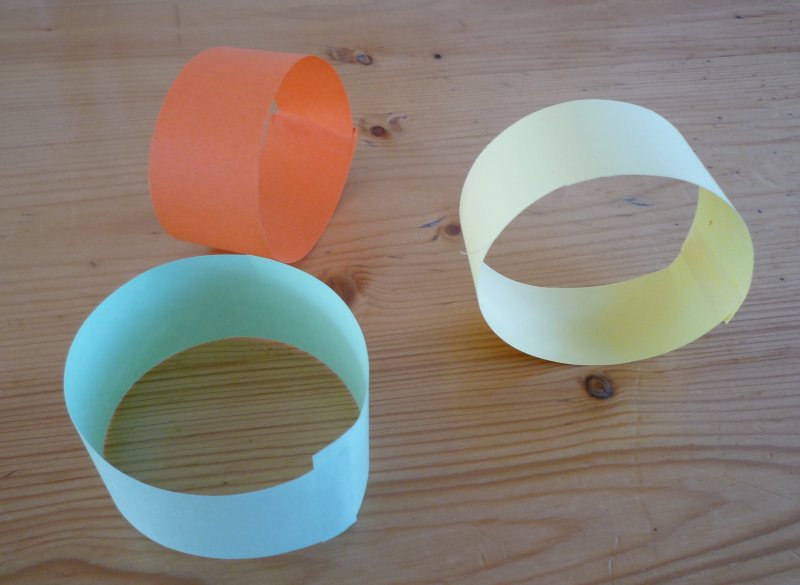
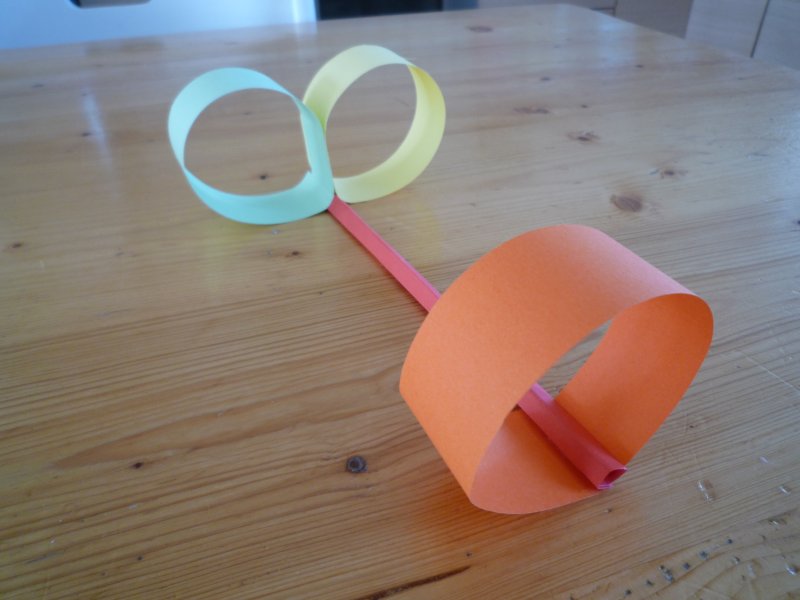
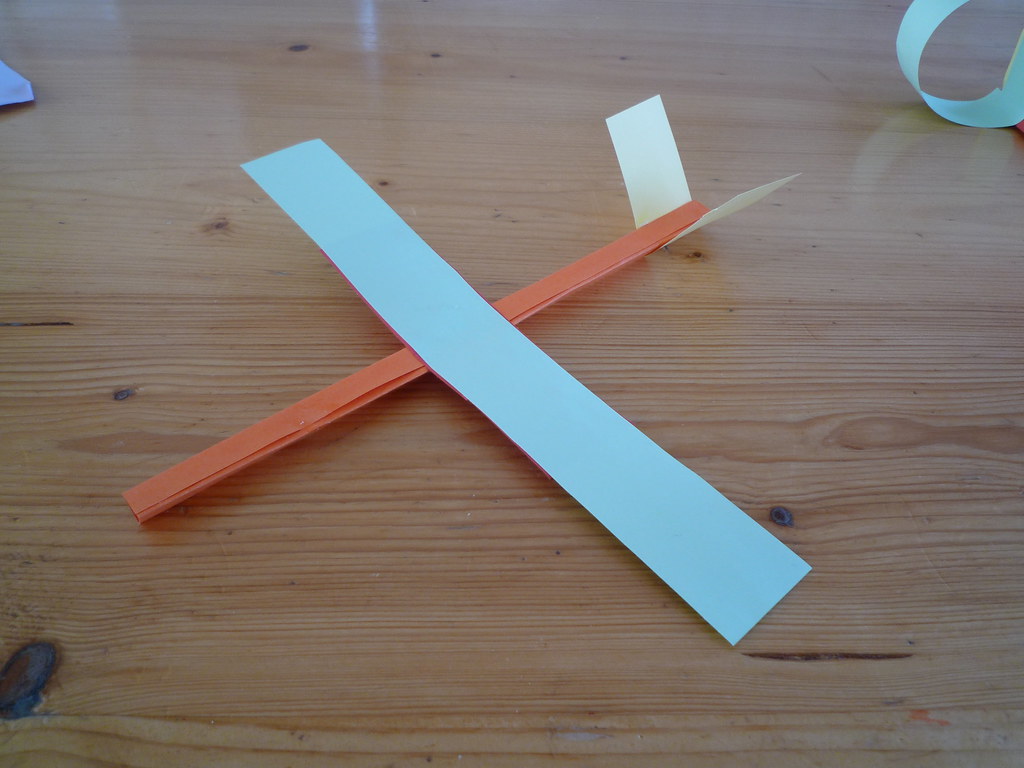
Cut one of the other two strips in half, and glue one of these halves to the remaining long piece to make the reinforced main wing:


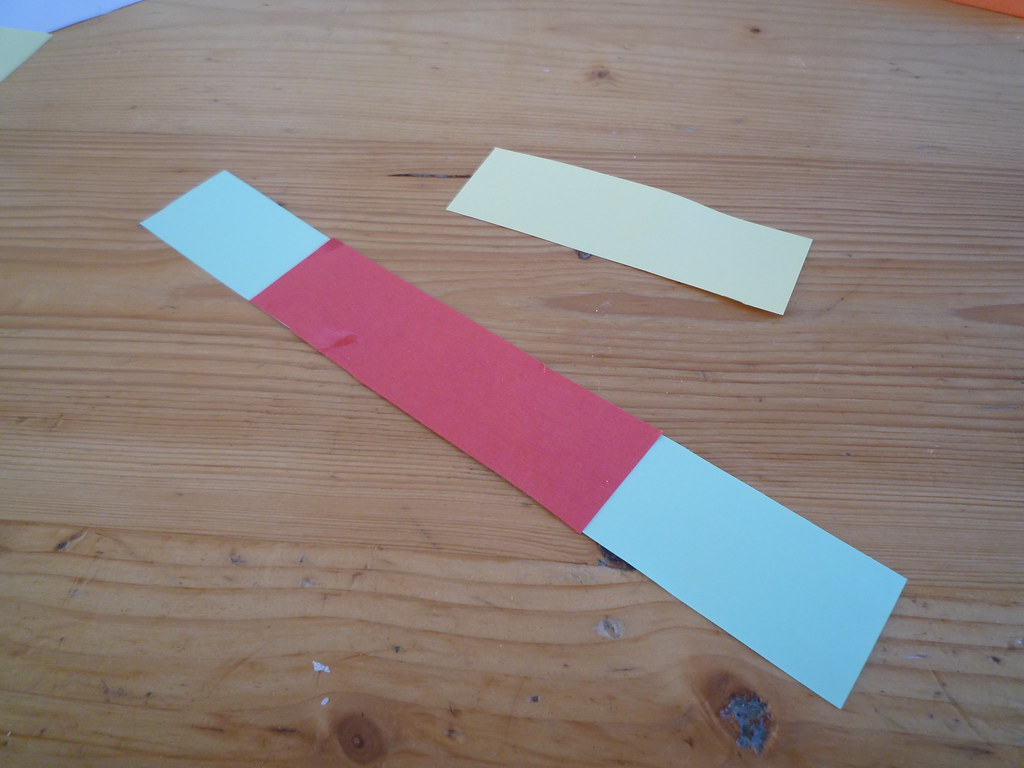
Fold the remaining small strip in half to make the V-tail:


Now glue the wing to the fuselage about 1/3 to halfway back, and glue the V-tail on the end like this:


The wings will droop a bit, especially before the glue is completely dry, and they'll bend up in flight under the weight of the plane if left this way. Add some camber to the wings to correct the droop, and add a bit of dihedral by bending up slightly where they meet the fuselage:


Flying:
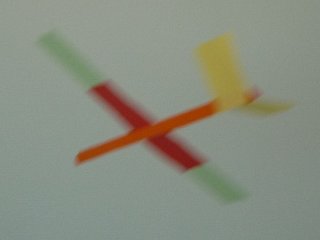
You can go ahead and start flying as soon as you've finished, although you may need to tweak it a bit as the glue dries. Don't throw it, just give it a gentle shove pointing slightly downwards. If the nose pulls up and it stalls, bend the trailing edges of the V-tail slightly down, and if it pulls to one side, try just bending down the side of the V opposite the turn. If it continues to stall no matter what you do, roll up a small strip of paper and shove it in the nose (of the plane) for some extra weight:


Tips:
This is a really good flier and can be trimmed just like a real airplane. The V-tail or "ruddervator" is also used on real planes and works very well, as long as you think about the up/down and right/left consequences of any changes you make in its "control surfaces". You can also get better flying performance if you make the main wings and fuselage from the long side of your paper, but at the risk of lower strength. You can counter this some by making the fuselage double-thickness, and the extra weight will also make it fly smoother and faster. Different parts of the wings and tail will affect the flight of the plane at different speeds, so don't make too many changes at once between flights.

Monday, May 25, 2009

Quick and easy nonfolded paper airplane

A few rainy weekends ago, the boys and I were making random structures with construction paper and glue, and when I asked what we should make next, the request was submitted for an airplane. Now ordinarily, even a folded paper airplane has a pretty short service life around a toddler, plus when they ask for an airplane they don't exactly mean 20 minutes from now. But at the time, we had just made some loops from strips of paper and put them together to make chains, and the loops brought to mind that design you may recall that involves a straw. Well, we didn't have a straw, but a few folds later we had a nice approximation. With a few minor tweaks, this turned out to be a really good flier, and the great thing is you can turn them out faster than toddlers can smash them up (well, almost). This is the quickest and easiest design we've come up with so far:

Making:
Start with some paper, scissors and quick-drying glue (10-minute white craft glue is fine). One sheet is enough for several airplanes, but it's nice if you have a few different colors:


Cut four strips about ¾" wide off the short end of the paper. Take one strip and fold it lengthwise in half, then fold the long edges in to meet the first fold, like this:

Run a thin bead of glue along one of the outside edges, and fold the other outside edge over it to make a triangular tube. This is your fuselage:


Glue the other three strips into loops, like this:


Now glue one flat side on one end of the fuselage to the inside of one of the loops, and glue the other two loops to the remaining sides on the other end, like this:

An extra drop of glue between these last two loops will hold things together a bit better.

Flying:
The plane is ready to fly as soon as you finish putting it together, although performance seems to improve slightly as the glue dries. Fly it "canard" style (that's aerogeek speak for Klingon Bird of Prey), with the single loop in front, giving it just a gentle shove pointing slightly downwards. If the nose pulls up and it stalls, press the front loop in from the sides so it looks more like the number 0 than the letter O, and it will nose down and pick up speed. You can also steer a bit by twisting the front loop or by bending little rudders on the two rear loops.

Tips:

It takes way less time to make and fly one of these planes than it did to write this, but if you take just the tiniest bit of extra care you'll end up with something that flies amazingly well, better than most folded planes and almost as well as a glued-up paper sailplane (stay tuned!). Keep the folds for the fuselage neat, so it's nice and straight, and make sure the loops are square to the fuselage when you glue them on for good straight flight. Just like with real wings, thinner strips for the loops seem to give better performance, but too thin and they won't hold up. Experiment and have fun!